Page History
...
Stepping through the installer
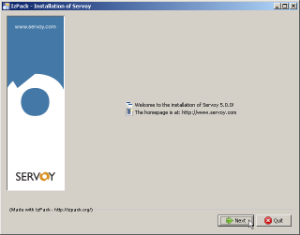
Step 1 - Welcome page
When the installer opens, the screenshot below will represent itself. Click "Next" to continue.
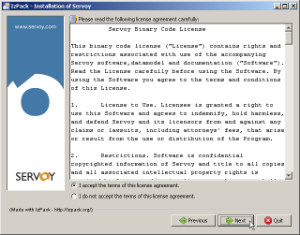
Step 3 - License Agreement
Accept the License agreement and click "Next" to continue.
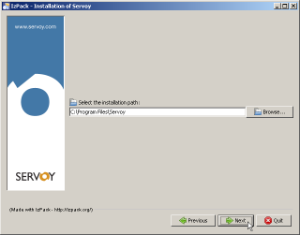
Step 4 - Installation Location
The following screen allows the installer to set the location where the Servoy Application Server will be installed. If required, provide a different location and click "Next" to continue.
...
The user under which the Servoy Application Server will run requires read/write access rights on the directory in which the Servoy application Server is installed.
Step 5 - Options

The following screen allows the specification of which optional packs to include in the installation.
...
| Pack | Mandatory | Contents |
|---|---|---|
| Application Server | Yes | Servoy Application Server |
| Developer | No | Servoy Developer |
| JDBC Driver Files | Yes | JDBC drivers shipped with Servoy by default |
| Database | No | PostgreSQL database engine as well as the sample databases shipped with Servoy |
| Runtime Builder | No | Servoy Developer plugin to create the Servoy Runtime Client |
| Application Server Service | No | Feature to install the Servoy Application Server as a Service |
| Example Files | No | Sample solutions |
| Headless Client Sample | No | Servoy Headless Client sample |
| Documentation Files | Yes | Servoy Client documentation |
| Beans | No | All default beans |
| Plugins | No | All default plugins |
| Look and Feel Files | No | Several Java Swing Look and Feel files for customizing the Servoy Smart Client appearance |
| PDF Support Package | No | PDF Output Plugin to support for working with PDFs to Servoy |
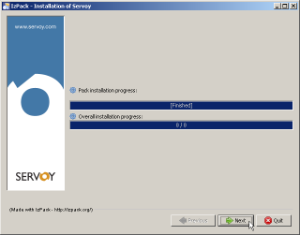
Step 6 - Installation Progress
The following screen shows the installation progress. When finished, click 'Next' to continue.
Step 7 - Shortcuts
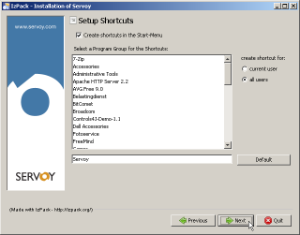
The following screen allows the creation of shortcuts in the Start Menu. This option is only available on Windows
Uncheck the "create shortcuts in the Start Menu" is not required and click 'Next'.
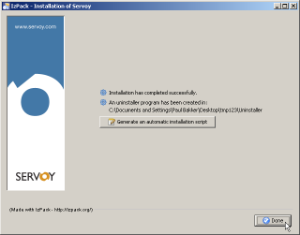
Step 8 - Installation Script
The last screen allows for the creation of an installer script for Performing an unattended installation.
...
Overview
Content Tools
Activity