
Servoy is a plugin for the Eclipse platform, so to develop the Servoy codebase an Eclipse SDK environment with Eclipse Plugin development facilities is required.
In order to get started with development on one of the open source Servoy projects, the following is required:
The installer for Servoy Developer can be downloaded after login in at http://www.servoy.com/download. Running the installer will install Servoy Developer.
For a more indepth description of installing Servoy Developer, see Installing Servoy Developer|.....|||||\
After installation, start Servoy Developer and install the SQL Explorer plugin. See \[\] for more information. |
The open source Servoy projects are all plugins for the Eclipse environment, so in order to develop on one of the projects a Eclipse version with Eclipse plugin development tools installed is required.
The Eclipse.org download page (http://www.eclipse.org/downloads/) lists a wide range of prepackaged Eclipse distributions, one being the 'Eclipse for RPC/Plug-in Developers'. Although the plugin development tools can be installed in any Eclipse environment, the easiest is to download the 'Eclipse for RPC/Plug-in Developers' distribution and install it.
Start the Eclipse installation and choose or create a workspace into which the development on open source projects of Servoy will take place.
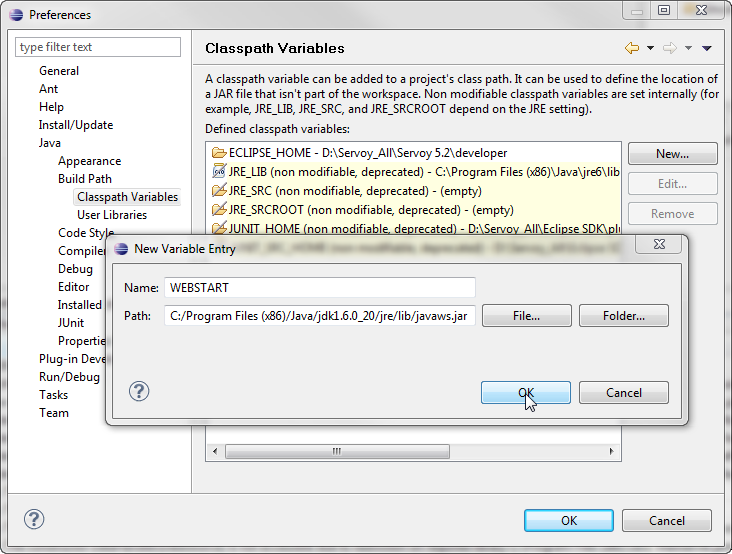
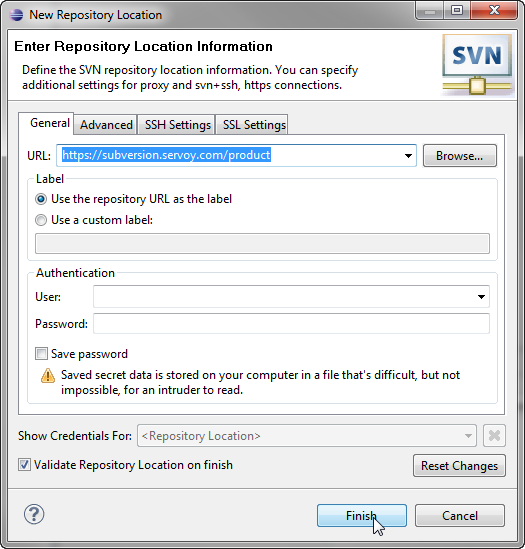
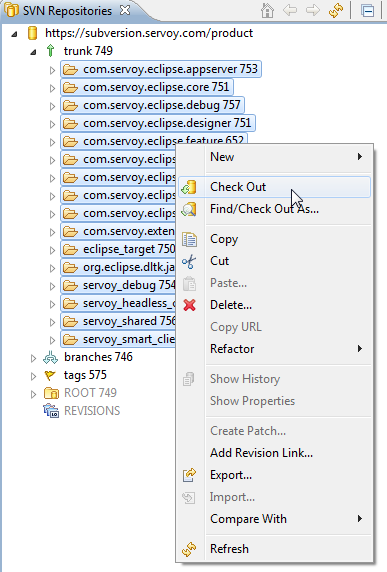
The following configuration needs to be done:


verschillende target files staan voor de verschillende platformen.
Dit is de meest tricky onderdeel, want als jij bv met eclipse gewoon de 32 bits variant heb geinstalleerd
maar servoy zag dat je een 64bits jvm hebt (dat is in mijn geval zo) dan moet je dus hier de juiste target selecteren
Ben er nog niet over uit hoe we dat nu mooi kunnen doen.
Want bv als je mixed moet je ook nog de juiste jvm (32 bit of 64 bit) geconfigureerd hebben (anders kun je niet debuggen)
Maar je moet dus weten welk platform servoy heeft geinstalleerd als dat bij jou win32_64 is moet je die servoy_win32_64.target file openen
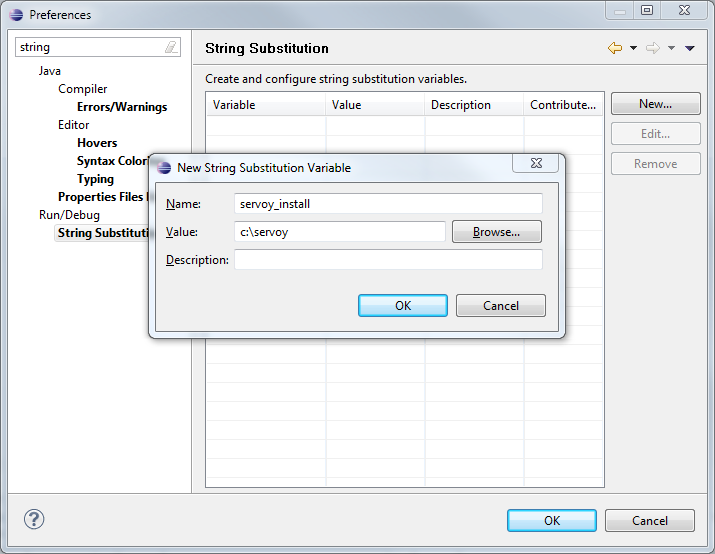
Als je de variable servoy_install goed hebt dan zie je als goed is in de eerste tab bij locations 224 plugins (rond dat getal..) available
nu kun je dus rechts boven in op Set as Target Platform link drukken.
Als het goed is compileerd nu alles in 1x.
Plugin/bean development using the Eclipse Plugin Development facilities means that Servoy Developer is started from within a Eclipse instance that has the Eclipse Plugin Development features installed (called "plain" Eclipse from now on).
The plugin/bean project is located in the "plain" Eclipse instance. When it's time to debug the code, the Servoy Developer Eclipse instance is launched as a debug process from within the "plain" Eclipse instance.
The Servoy Developer Eclipse instance is a full featured Servoy Developerhat can be used to create/alter solutons, start Debug Clients, create and debug JavaScript code etc. If any code is executed that is part of the plugin/bean project in the "plain" Eclipse instance and it contains a breakpoint, the Java debugger in the "plain" Eclipse instance will be activated and thus the plugin/bean code can be debugged.
To launch a debug session the first time, it is required to go through the Debug Configuration dialog:
* Run > Debug Configurations > select the previously created Debug Configuration and press the "Debug" button
On subsequent launches the Debug Configuration will be accessible through the Debug History (available through Run > Debug History or the debug button on the toolbar)
Memory settings for the debug session can be set on the "Arguments" tab of the Debug Launch Configuration. It is advised to specify here the same memory settings as applied in the servoy.ini file of your Servoy Developer installation (Default: -Xms40m -Xmx256m -XX:MaxPermSize=256m) |
Download Servoy
Download Eclipse SDK