Synchronizing Database / DBI files
This exercise will again use two workspaces to emulate a database change which is propagated through the repository as metadata in a DBI file, then synchronized with a local database.
- Open the orders table in the Table Editor, add a column called 'order_status' and save the changes. An asterisk should appear on the Resources node in the Solution Explorer, indicating that the a resource in that project has outgoing changes.
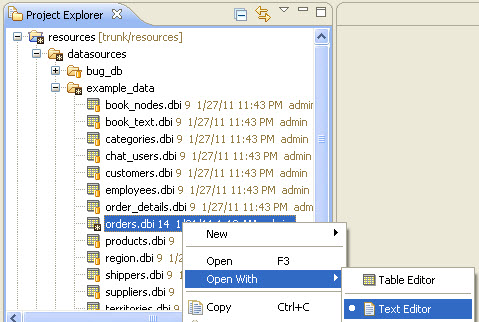
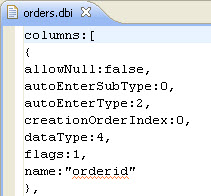
- View the DBI file. Open the Resource perspective, expand the Resource project and right-click the orders.dbi file. From the contextual popup, select Open With > Text Editor and view the resource as a JSON file.
- Return to the Servoy Design perspective and Right-click the Resources node and from the contextual popup menu, select Team > Commit... Add a comment and click OK.

- Open the orders table in the Table Editor and delete the column you just created and save changes. Then switch back to your original workspace. The reason you deleted the column is to emulate a separate database for another developer who doesn't yet have the change, but will update through SVN.
- Right-click the Resources node in the Solution Explorer and from the contextual popup menu, select Team > Update. This will update the local version of the DBI file.
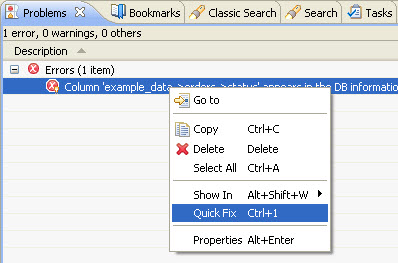
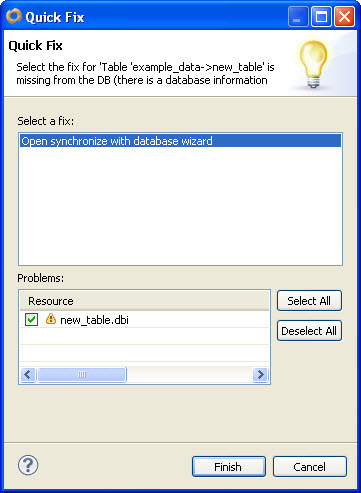
- You should now see an error in the Problems tab indicating that the DBI file is out of sync with the database. Right-click the error and from the contextual popup, select Quick Fix
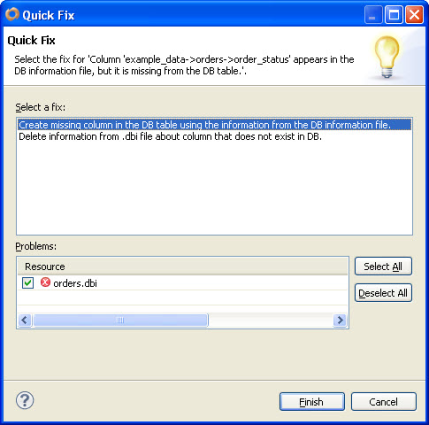 In the Quick Fix dialog, you'll have two options. Select the option to create the column in the database table and click OK. The column will be added to the database

- Create a new table on example_data database called new_table, add a few arbitrary columns and save. Again, you should see the asterisk indication on the Resources node in the Project Explorer for outgoing changes. Commit the change to the repository.
- Again, you will use the dual workspace to emulate another developer and separate database. Delete the table you just created and switch workspaces back to the developer_2 workspace.
- Right-click the Resources node in the Solution Explorer and from the contextual popup menu, select Team > Update. This will create the new DBI file in the workspace.
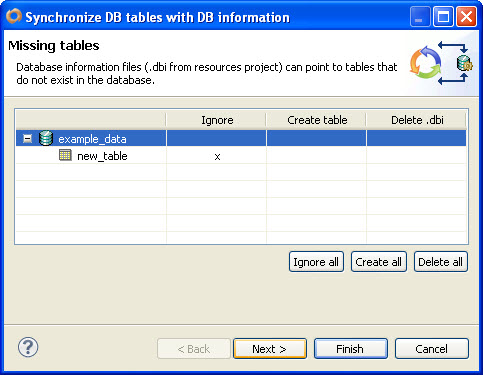
- You should see a warning in the Problems tab indicating that the DBI file and the database are not in sync. Right-click the warning and from the contextual popup, select Quick Fix. The indication in the Quick Fix Dialog is to launch the Database Synchronization Wizard.

- Another way to launch the wizard is from the Project Explorer. Right-Click the Database Servers node and from the contextual popup, select Synchronize with DB Server information.
- Select the Create Table option and click finish. The table is now created in the local database copy.
Overview
Content Tools
Activity